ice cream

Caramelized Pineapple Ice Cream

I had an excess amount of pineapple in my fridge last week (a situation I’ve found myself in more than once) after cutting up a fresh one to eat with dinner. Even after we’d had our fill with dinner and I’d done some snacking on it through the week I still have enough left over that I needed to do something with it.  So I started brainstorming what to do.  Pineapple ice cream.

pineappleicecream1

I found a few recipes, but this one with pineapple cooked down with sugar and cinnamon sounded so delicious.  The blog where I found the ice cream recipe had a great set of pictures showing how to cook the pineapple.  She even includes are warning about being careful not to leave it cooking while you go do something else.  Well, even with the warning I left it cooking over low heat while I spent some time outside with the kids and it cooked a little too much.  After cooling it some of the sugar had hardened on the bottom of the pan.  I kept going with the recipe and was glad I did because the deep caramel flavor with the pineapple and cream was spectacular.

pineappleicecream4

I wound up using the raw egg version, but here are some cooked egg custard vanilla ice cream base recipes that you could easily substitute.  Just stir the cooled pineapple puree into the cold custard and freeze in the ice cream maker.

pineappleicecream2

This ice cream is rich, which isn’t hard to predict without trying it when you see the ingredient list!  With all that cream and milk a little goes a long way.   I really prefer to eat rich and creamy ice cream, it’s so much more satisfying.  I always wind up eating more of the light and airy stuff and it’s never as good as a small amount of the good stuff.

Caramelized Pineapple Ice Cream

From La Gringa’s Blogicito

Ingredients

  • 5 cups of fresh pineapple chunks
  • 3/4 cup sugar
  • 1 teaspoon cinnamon
  • 2 eggs
  • 2 cups heavy cream
  • 1 – 1 1/2 cups milk

Directions

  1. Place pineapple chunks in a large saucepan over medium heat.  Add sugar and cinnamon and stir together.
  2. Cook, stirring occasionally and monitoring the heat so that it is just at a medium simmer, for 20-30 minutes.  The pineapple will release a bunch of juice at first and then start to thicken up.  Remove from the heat and let cool for a few minutes.
  3. Place pineapple and as much of the sugary stuff as you can scrape from the pan into a blender or food processor and mix until very smooth.
  4. Transfer to a bowl and let cool in the fridge until cold.  (You can also put it in the freezer to speed up the process without letting it freeze.)
  5. Whisk eggs in a large bowl for 2 minutes.  Add in the cream and the pineapple puree (Add in all of it if you have 1 1/2 cups or less, if you have more than 1 1/2 cups, then save the excess for ice cream topping).
  6. Add in enough milk to make no more than 5 cups of ice cream mix.
  7. Place the bowl in the freezer and stir every 30 minutes for 1-2 hours, until the edges of the mixture begin to freeze.
  8. Transfer to an ice cream maker and freeze according to the manufacturers instructions.
  9. Transfer to a freezer safe container and let chill in the freezer for at least 1 hour.

Simple Sundae: Brown Sugared Pineapple with Toasted Coconut and Almonds

I love ice cream.  And I eat it a lot.  I have some pretty much every night of the week.  And I usually have 2 flavors in my freezer at all times.  I’m not even lying.  Sometimes I keep it really simple, especially if I have a flavor that already has a lot of goodies in it.  When I eat vanilla ice cream, though, I just have to mix something in, chocolate chips, crumbled cookies or chopped up candy like Reese’s or Snickers.

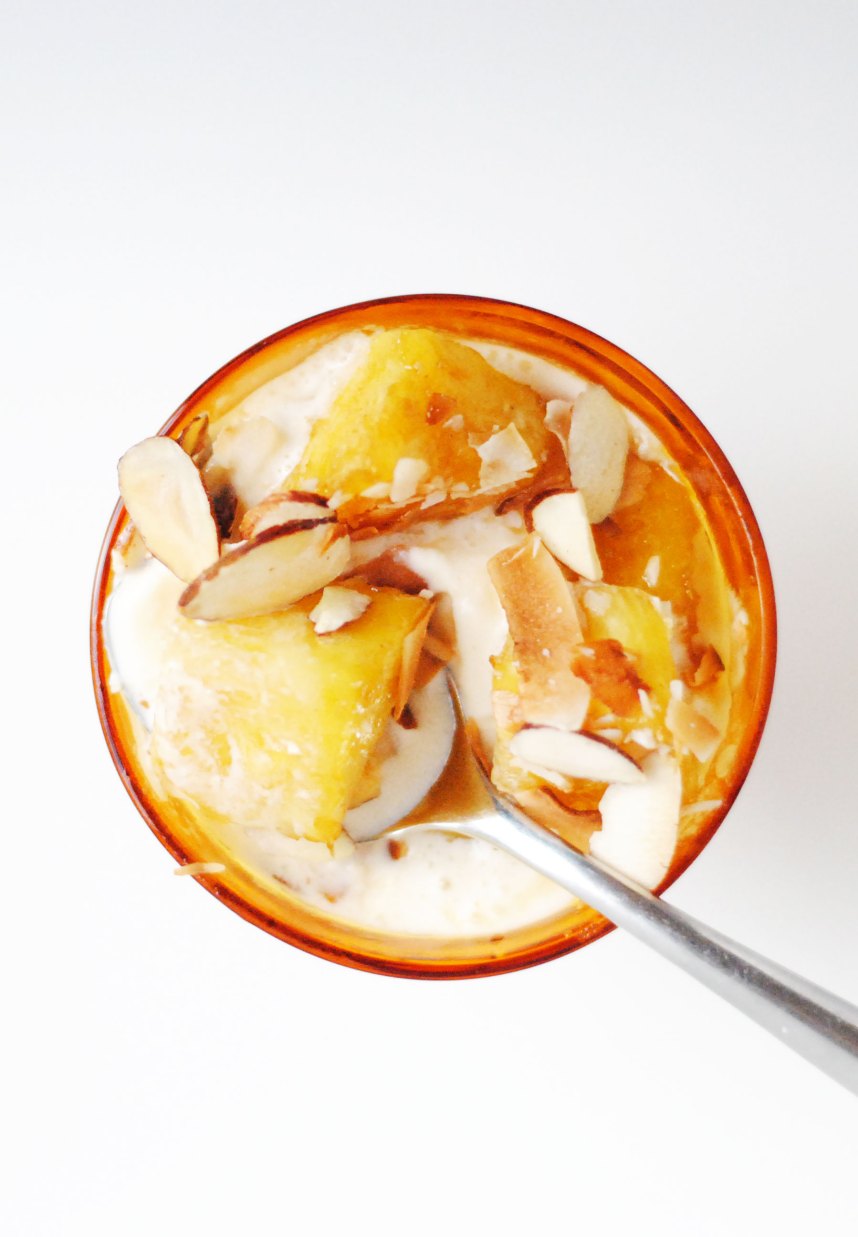
With summer weather upon us I can’t think of anything better than trying out some new ice cream toppings!  This one has pineapple cooked in warm brown sugar sauce and is topped off with toasted coconut and almonds.  It’s real good and real easy,

Brown Sugared Pineapple Sundae with Coconut and Almonds | Hottie Biscotti

This week I found myself with an incredibly delicious container of fresh pineapple after using one as a pregnancy photo prop.  It’s great for snacking and for adding to yogurt, but I wanted to try something a little different with it.  A while back a friend made dessert for a dinner party by just cooking up some fresh pineapple in butter and brown sugar and serving it on top of ice cream.  I used the same method but added some toasted coconut and almonds to make a delicious, quick and simple ice cream sundae.

I used vanilla ice cream in this sundae, but coconut would be delicious and add to the tropical-ness of the dessert.  To toast the coconut and almonds, simply spread them out on a cookie sheet and pop them in a 350°F oven for a few minutes, until everything just begins to brown.  The coconut will brown quicker, so you can do them on separate cookie sheets, or remove the coconut from the cookie sheet and continue to toast the almonds.  But do make sure to have them toasted!  The flavor is better and so is the texture in the sundae.

Brown Sugared Pineapple Sundae with Coconut and Almonds | Hottie Biscotti

Do you have any favorite toppings for your ice cream?  I can always use some new ideas!

Brown Sugared Pineapple, Toasted Coconut and Almond Sundaes

Serves 4

Ingredients

For the Pineapple

  • 1 tablespoon butter
  • 1/3 cup brown sugar
  • 1 heaping cup fresh pineapple, cut into chunks

For the Sundaes

  • vanilla ice cream
  • toasted coconut chips or unsweetened coconut
  • toasted sliced almonds

Directions

Pineapple

  1. Heat a small skillet over medium heat and add the butter.  Allow it to melt almost completely.
  2. Add in the brown sugar and increase the heat to medium high.  Stir the sugar and butter together until the sugar has dissolved.
  3. Add in the pineapple and stir to coat each piece of pineapple.  Let it cook for 3-4 minutes, stirring occasionally, until the sugar mixture has thickened a bit and the pineapple has warmed through.  Remove from the heat.

Sundaes

  1. Scoop ice cream into 4 small bowls.
  2. Divide the pineapple and sauce evenly among the bowls.
  3. Sprinkle coconut and almonds on top and serve.


Daring Bakers: Ice Cream Petit Fours

This challenge sure snuck up on me…like many other Daring Bakers challenges of the past.  Thankfully I remembered enough in advance to get this dessert completed in time!  We had an option this month to complete one or both of these desserts; ice cream petit fours and baked Alaska.  One day I will try baked Alaska, but I chose to make the petit fours only.

The August 2010 Daring Bakers’ challenge was hosted by Elissa of 17 and Baking. For the first time, The Daring Bakers partnered with Sugar High Fridays for a co-event and Elissa was the gracious hostess of both. Using the theme of beurre noisette, or browned butter, Elissa chose to challenge Daring Bakers to make a pound cake to be used in either a Baked Alaska or in Ice Cream Petit Fours. The sources for Elissa’s challenge were Gourmet magazine and David Lebovitz’s “The Perfect Scoop”.

(more…)

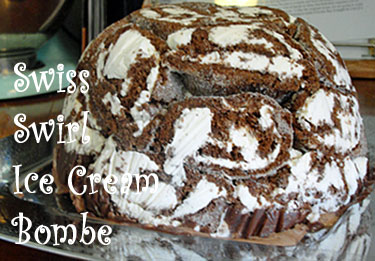
Daring Bakers: Swiss Swirl Ice Cream Bombe

So many components to this dessert!  Two ice creams, hot fudge sauce, chocolate cake, whipped cream…and then there’s the assembly process.  Whew!  When I told Ben all the things I had to do, he said “Can you imagine having to do this when you were still teaching?”  Yes, I can imagine that.  I would have freaked out.  Probably like this scene from Julie & Julia.

Thankfully I saved myself, and Ben, from this potential freak out by spreading everything out over 5 days and having this thing ready to enjoy 3 days before the Daring Bakers reveal.  Having a lot of free time is such a luxury.

The July 2010 Daring Bakers’ challenge was hosted by Sunita of Sunita’s world – life and food. Sunita challenged everyone to make an ice-cream filled Swiss roll that’s then used to make a bombe with hot fudge. Her recipe is based on an ice cream cake recipe from Taste of Home.

I must confess right now that I cannot attest to how good this ice cream treat is at present.  I haven’t yet cut into this impressive dessert and tasted it.  It is sitting in my freezer just waiting for me…calling to me, really.  I’m saving it for our 4th anniversary this Thursday.  I’ll make sure to amend this post once I get to try a slice as we celebrate 4 years of marital bliss!

(more…)

Caramel Sauce

When you describe something as being “vanilla” this may mean it is plain and simple, or it may be a more negative description meaning that something is ordinary, conventional or boring.

I like vanilla ice cream, but sometimes it can be so very…vanilla.  I recently bought a half gallon of Bluebell Vanilla Bean ice cream instead of my usual purchase of Homemade Vanilla.  Homemade Vanilla is a vanilla ice cream that can be eaten end enjoyed plain.  The Vanilla Bean, in my opinion, cannot.  I needed something to make it a little more interesting.  Something to kick it up a notch.  Chocolate syrup was not going to do it for me.  I found this recipe for caramel sauce on Simply Recipes, and it was terrific.

I had all the ingredients (there are only three!) and it didn’t take long at all.  The only part that takes any time is waiting for the sugar to melt.  Everything else goes extremely quickly.  So, heed the advice in the recipe and have everything ready to go before you start.  And use a pan with high sides.  The cream definitely makes the sugar mixture spatter, and it is hot.  Be careful.

My caramel sauce was pretty dark, but very delicious.  I poured it warm over some vanilla ice cream the night I made it and it was perfect.  I kept the rest in the fridge for a day or so.  When I wanted some more, I just scooped a spoonful out of the jar and heated it in the microwave.  Easy-peasy.

Here is a link to the recipe.

Caramel Sauce
Ingredients
  • 1 cup of sugar
  • 6 Tbsp butter
  • 1/2 cup heavy whipping cream
Directions
  1. First, before you begin, make sure you have everything ready to go – the cream and the butter next to the pan, ready to put in. Making caramel is a fast process that cannot wait for hunting around for ingredients. If you don’t work fast, the sugar will burn. Safety first – make sure there are no children under foot and you may want to wear oven mitts; the caramelized sugar will be much hotter than boiling water.
  2. Heat sugar on moderately high heat in a heavy-bottomed 2-quart or 3-quart saucepan. As the sugar begins to melt, stir vigorously with a whisk or wooden spoon. As soon as the sugar comes to a boil, stop stirring. You can swirl the pan a bit if you want, from this point on. Note that this recipe works best if you are using a thick-bottomed pan. If you find that you end up burning some of the sugar before the rest of it is melted, the next time you attempt it, add a half cup of water to the sugar at the beginning of the process, this will help the sugar to cook more evenly, though it will take longer as the water will need to evaporate before the sugar will caramelize.
  3. As soon as all of the sugar crystals have melted (the liquid sugar should be dark amber in color), immediately add the butter to the pan. Whisk until the butter has melted.
  4. Once the butter has melted, take the pan off the heat. Count to three, then slowly add the cream to the pan and continue to whisk to incorporate. Note than when you add the butter and the cream, the mixture will foam up considerably. This is why you must use a pan that is at least 2-quarts (preferably 3-quarts) big. (Check here for an explanation of why adding the cream makes the mixture bubble up so much.)
  5. Whisk until caramel sauce is smooth. Let cool in the pan for a couple minutes, then pour into a glass mason jar and let sit to cool to room temperature. (Remember to use pot holders when handling the jar filled with hot caramel sauce.) Store in the refrigerator for up to 2 weeks. Warm before serving.

Makes a little over one cup of sauce.