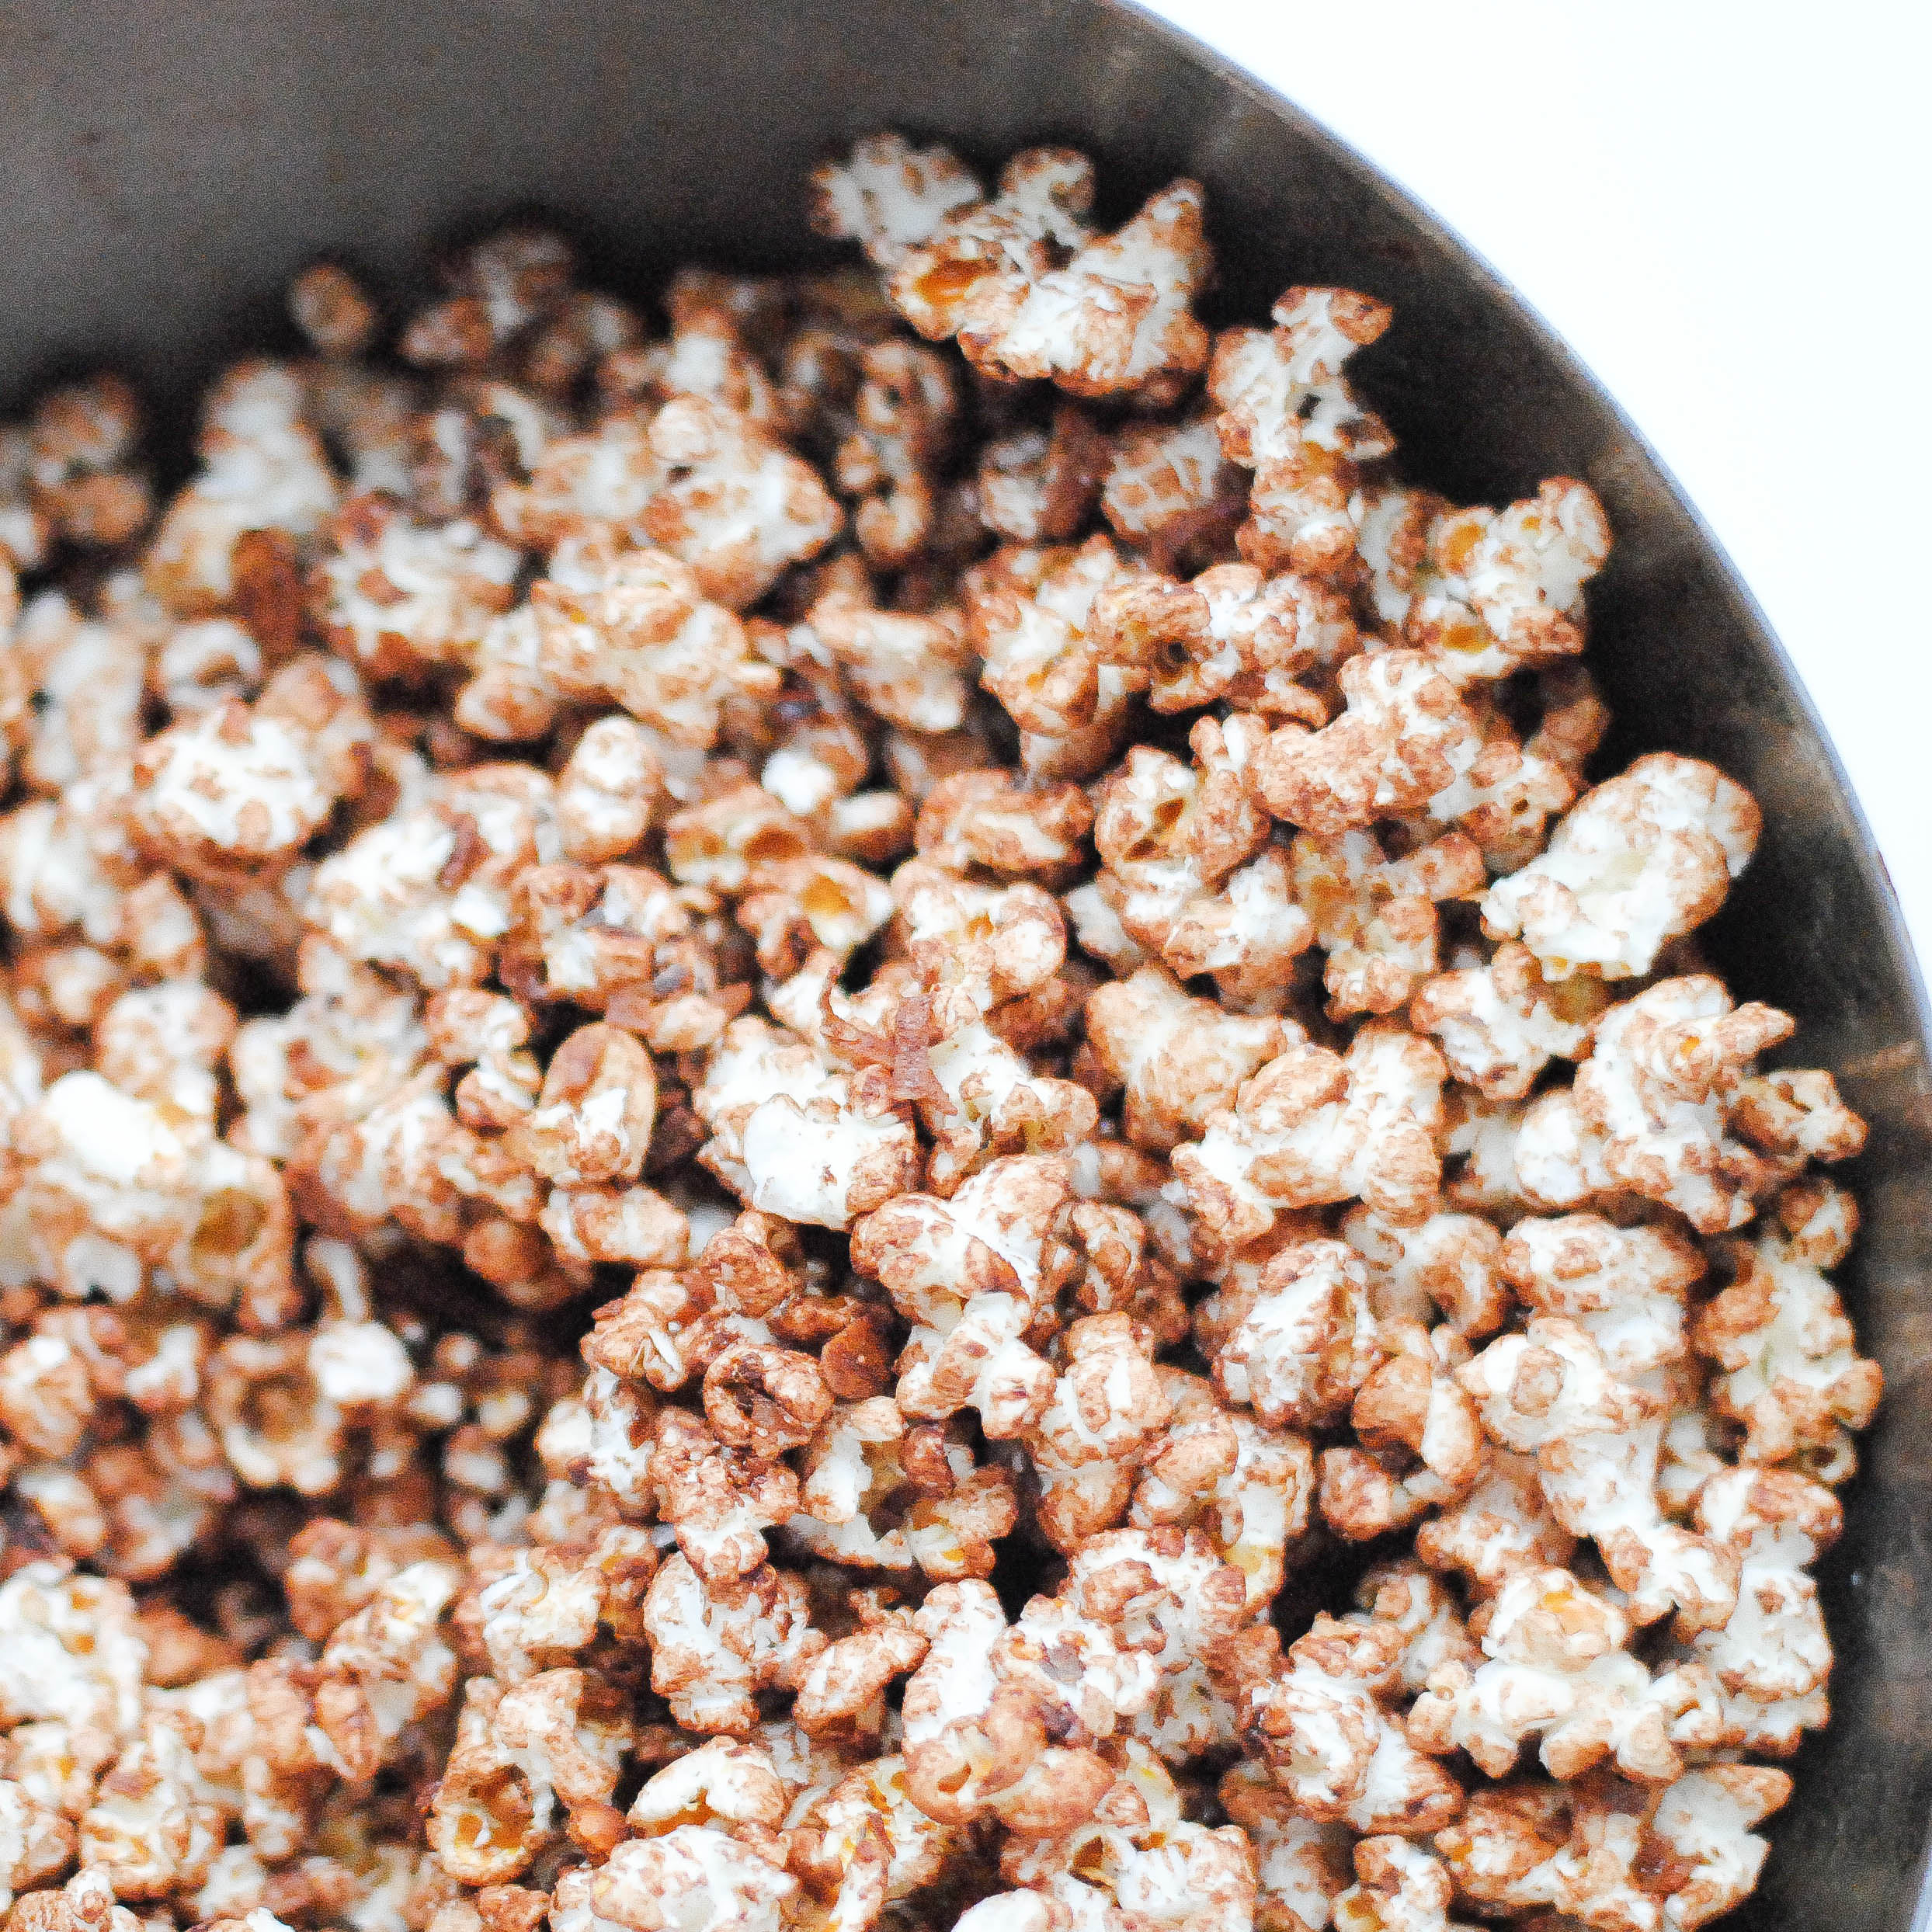
Snacks

Almond Joy Popcorn

One of the great things about cooking and baking is that there is never a point at which you know it all.  There are flavors and foods you haven’t tried or methods that are new to you.  With this recipe I learned how so very easy it is to pop your own popcorn on the stove-top!
Almond Joy Popcorn-7

For some reason the thought of popping it on the stove has always seemed like it would take too much time and effort.  But it’s actually very simple and fun, too!  My kids thought it was amazing.  You also get the added benefit of being able to control fat and salt.  When I pop popcorn in the microwave I either burn it or have a bunch of un-popped kernels.  With this method it was just about perfect, very few un-popped and no burnt pieces.

This is a Fine Cooking recipe from the Dec/Jan issue.  They give you the basic popping method, and then there are 7 popcorn recipes from cinnamon toast (can’t wait to try!) to pepperoni pizza.  I chose this chocolate and coconut one and added some sliced almonds.

Almond Joy Popcorn-3

This is best eaten the same day as it’s made, but it still ok the next day.  Not sure beyond that.  Like a salad with lots of stuff in it, the good stuff tends to sink to the bottom of the bowl, so be sure to scoop from the bottom.

Almond Joy Popcorn-8 Almond Joy Popcorn-9

Almond Joy Popcorn

From Fine Cooking

Basic Popcorn

Ingredients

  • 2 tablespoons canola oil (for the coconut popcorn use 3 tablespoons of coconut oil)
  • 1/2 cup popcorn kernels

Directions

  1. Put the oil and 2 or 3 popcorn kernels in a heavy-duty 4-1/2- to 5-1/2-quart pot. Partially cover and heat over medium-high heat until the kernels pop.
  2. Add the rest of the popcorn kernels.
  3. Cover the pot most of the way and shake the pot back and forth constantly once the heavy popping starts.  It helps to have two pot holders or heavy kitchen towels at this point.
  4. After about 3 minutes, the popping should slow down; when you can count to 5 without a pop, it’s done. Remove from the heat, and give the pot a final shake. Transfer to a large bowl and season as you like.

Almond Joy Popcorn

Ingredients

  • One recipe basic popcorn  (unprepared)
  • 4 ounces dark chocolate, chopped fine
  • 1 cup unsweetened shredded coconut
  • 1/2 cup sliced almonds, chopped fine
  • fine sea salt

Directions

  1. Toast the coconut by spreading it out onto a rimmed baking sheet and baking in a 300°F oven for 8-10 minutes, stirring occasionally.  Toast until golden brown and fragrant.  Set aside.
  2. Pop popcorn according to the recipe above.
  3. Immediately after popping pour into an over-sized bowl and toss with the chocolate, coconut, almonds and 1/2 teaspoon salt.  Once it’s evenly coated refrigerate for 5 minutes, then gently toss again breaking up any large chunks.  Season with more salt if desired.

Roasted Pumpkin Seeds

If I were a good blogger who thought more than a day in advance I would’ve posted this weeks ago so you’d have time to plan and make these when you carved your pumpkin.  I’m not a good blogger, I’m a foggy headed mommy.  So here’s a post about pumpkin seeds that no one is going to use…

You’ve likely already thrown your seeds or roasted them if you’ve already carved your pumpkin.  But if you’re carving your pumpkin today or tomorrow, then you’re in luck and you’ll have pumpkin seeds to roast!  Or you could go buy another pumpkin, scoop out the goo, carve another jack o lantern and roast some seeds.  And if you live in Houston you might need to replace the pumpkin that’s rotting on your porch anyway thanks to 80 degree temps and high humidity in OCTOBER.  Why do I live here?

pumpkinseeds

These pumpkin seeds are very simple and straightforward.  Wash and dry your seeds (preferably overnight), toss in melted butter and spices, and roast in the oven.  Nothing fancy.  I’ve seen so many variations, from buttermilk ranch to salted caramel.  People are so creative!  I thought about trying something out of the ordinary, but ultimately decided to stick with something simple and something nostalgic.  I remember roasting seeds as a kid, and this is what we’d do, although maybe with just salt a pepper or seasoning salt.  I made my own little mix of spices for these seeds.  You could easily adapt this with the spices you like.  Happy carving, happy snacking and Happy Halloween!

Roasted Pumpkin Seeds

Ingredients

  • 1 cup raw pumpkin seeds, washed and dried
  • 2 tablespoons melted butter
  • 3/4 teaspoon salt
  • 1/4 teaspoon pepper
  • 1/2 teaspoon garlic powder
  • 1/4 teaspoon paprika
  • 1/4 teaspoon dried basil
  • 1/4 teaspoon dried thyme

Directions

  1. Preheat oven to 375°F
  2. In a bowl toss pumpkin seeds with butter and spices to evenly coat.
  3. Pour the seeds out onto a rimmed baking sheet (lined wish parchment for easier clean up).
  4. Roast for 15-20 minutes, shaking the pan every 5 minutes to make sure the seeds are evenly roasted.  The seeds are done when they just begin to brown, but I like mine a little darker so I often go a minute or 2 more.
  5. Cool and store in a sealed container up to a week.

Barbecue Quesadillas

When it rains it pours when it comes to leftovers in our house.  Last night, for example, we had 3 different choices for dinner using leftovers.  It can get a little boring when its the same meal that’s just been reheated.  Leftovers are a lot more bearable when you can make something new out of them.  This is what I did with some leftover turkey from Rudy’s BBQ.  Mmm.  Rudy’s.

Along with the turkey I had barbecue sauce, tortillas, shredded Mexican blend cheese, half of a red onion, and half of a red bell pepper, all left over from other meals.  Since this was kind of a last minute dinner and I wasn’t sure exactly how it was going to turn out, I didn’t really measure anything.  If you’re not comfortable with that kind of cooking, this is a great way to start.  The best way to get better at cooking without a recipe is to practice.  Just use your judgement and use what you like.  If you have barbecued brisket or chicken instead, then use those.  I used a Mexican blend of shredded cheese, but cheddar, monterey jack, or pepper jack would all work.  If you don’t like onions, don’t use them.  If you like green bells instead, use those.

I’ve learned that when making quesadillas, like pizza, do not overdo it on the fillings (toppings for pizza).  It can be a mess to flip over, and if the filling to crunchy tortilla ratio is off, they aren’t as tasty.  Also, make sure to get your pan hot and use some kind of fat (butter is best in my opinion) even if its just a little bit.  It makes for a much crunchier exterior.  Enjoy!

Barbecue Quesadillas

Serves 3-4

Ingredients

  • 6 flour tortillas
  • 2-4 tablespoons butter
  • 1 1/2-2 cups chopped barbecued turkey (brisket or chicken)
  • 3-5 tablespoons barbecue sauce
  • 1/2 red onion, thinly sliced
  • 1/2 bell pepper, thinly sliced
  • 1-2 cups shredded cheese
  • sour cream (optional)

Directions

  1. Mix the turkey with the barbecue sauce, adding 1 tablespoon at a time until the meat is lightly coated. (Add more if you like.)
  2. Heat a skillet over medium heat.
  3. Lay out half of your tortillas and begin evenly layering cheese, turkey, onions, bell peppers and more cheese.  Top with another tortilla.
  4. Melt some butter (I use between 1/4 and 1/2 tablespoon) in the hot skillet.  Carefully transfer one quesadilla to the skillet and cook for 3-4 minutes until the bottom is nicely browned.
  5. Spread a little more butter on the top tortilla before flipping, being careful not to let too many toppings escape.
  6. Cook for another 3-4 minutes until the other side is browned and the cheese has melted.  Transfer to a plate.
  7. Repeat with the other quesadillas.  You can keep these warm in a 200°F oven on a cookie sheet.
  8. Cut into quarters and serve with sour cream if desired.

Baked Chicken Taquitos

Some of our great friends are leaving the hustle and bustle of Amarillo and are moving down to Houston at the end of the month.  We’re very sad to lose them and they will be missed!  It’s even more sad since they are some of the only Aggies we know up here!  We had a little going away party for them this past weekend.

We had an hors d’oeurves dinner and had a wide variety of tasty foods that I need recipes for now.  A super delcious queso, spicy jalapeño, black bean and corn dip, and some crazy good chocolate chip cookies.

I made chicken taquitos that turned out to be pretty good.  These were easy to prepare ahead of time, easy to assemble, they re-heated well and were a popular item on our buffet table.

I used a rotisserie chicken, a “Fiesta” blend of cheese and added a little more lime juice and cilantro than the original recipe.  Low fat cream cheese is fine in this recipe.  You can change up the filling any way you’d like.  There are so many options with taquitos!  I made a black bean and corn version that people liked even more than the chicken ones, so I’ll get around to typing that one up in the next couple days.  Enjoy! (more…)

Mexican Layered Salad

This salad was a big hit at the Superbowl party I brought it to last weekend.  It is technically a salad, but a lot of us ate it like a dip with tortilla chips instead.  I ate mine over a little mound of crushed chips.  The chips add a nice crunch and saltiness.  The flavors in this salad are very refreshing.  It was a good complement to the heavy chili and queso at the party.  The black beans and avocados are healthy and substantial and give the salad some weight that makes it an appealing thing to even the manliest of men.  I made mine a few hours before serving and it was great; not soggy at all.  I ate some the next day after it had been sitting in the fridge all night, and it was still delicious.  The avocado was still green and creamy without any nasty, slimy, brown spots.  I really liked the dressing.  The addition of lime juice, cilantro and cumin makes the ranch dressing so much tastier.  I am thinking about mixing some more of it up just to have on hand.  Adding some minced jalapeno might be nice too.

I combined many different recipes to come up with this salad.  A lot that I looked at use chips or cornbread as a layer in the salad, but I am not a fan of soggy bread in anything besides stuffing at Thanksgiving.  So, I left the chips out, and served them on the side instead.  If you want to add chips, cruch up about 2 cups and use half as a layer in between the corn and lettuce layers.

Mexican Layered Salad
Ingredients
  • 2 – 3 heads of romaine, chopped
  • 1/2 cup shredded red cabbage
  • 3 grated carrots
  • 3 – 4 roma tomatoes, chopped
  • 2 avocados, cut into 1/4 inch chunks and tossed with about 1 tablespoon of lemon juice
  • 6 – 8 green onions, chopped
  • 1 large can black beans, drained and rinsed
  • 2 cans whole kernel corn, drained
  • 2 cups shredded cheese, a combination of cheddar and monterey jack is great
  • 1 1/2 cups ranch dressing
  • 3/4 teaspoon cumin
  • 3 – 5 tablespoons lime juice
  • 1/4 – 1/2 cup chopped fresh cilantro
  • Tortilla chips for serving
Directions
  1. In a small bowl combine tomatoes and scallions.
  2. Combine romaine, cabbage and carrots in a large bowl.
  3. In a separate bowl, combine dressing, cumin, lime juice and cilantro.  Whisk to combine.  Set aside.
  4. In a trifle dish, layer half of the beans, then half of the corn.
  5. Top half of the lettuce mixture and press down.
  6. Top with half of the  tomato mixture, then half of the avocado.
  7. Sprinkle with half of the cheese, then drizzle with dressing.
  8. Repeat layers again, pressing down as needed.
  9. Top with cheese, then cover with plastic wrap and let sit for at least 1 hour.  Can prepare 1 day ahead.
  10. Serve with tortilla chips.

A 60’s Evening

This past weekend was one of the best I’ve had in quite a long time.  During our time in Waco we met some of our very best friends.  There’s something about being in the trenches together that brings people closer than they would have been otherwise, and this is what I have Baylor law school to thank for!

Ben spent most of his law school days with three great guys at Baylor, and as a result I became great friends with them, their significant others, and their kids.  After graduation we moved to Amarillo along with one of the other couples, Tim and Jackie.  Jason and Carrie and their adorable girls moved to Decatur and Christian moved to Houston.  Being scattered throughout the great state of Texas makes getting together a tough endeavor.  It’s also hard to find a time that works with everyone’s schedule.  So, this weekend was a special one because everyone was able to meet up in the bustling metropolis of Decatur.  Christian brought his fiancé, so we were able to meet her, and we definitely approve.

decaturpic

One of the great things about this group is our numerous shared interests.  For Carrie H and I one of those is food!  We had many incredible dinner parties in Waco, and when we get together now we usually plan a menu for one of our meals.  This weekend, Carrie also planned great breakfasts and lunches.  She is incredible.

(more…)

Monster Zucchini Part I: Zucchini Bread

Last week I was greeted at 8am with a bag of fresh vegetables from one of my co-workers.  There were beautiful red cherry tomatoes, a couple of bright green jalapeños and the biggest zucchini I had ever seen!  My first thought was zucchini bread.  I love how moist and wonderful zucchini bread is, and I like that it has vegetables in it…even if none of the original nutritional value remains after it’s been mixed with sugar, oil and eggs.

zucchini7

Back to the huge zucchini.  I really wish I’d weighed this monster before using it yesterday.  Just use this picture as proof…it was a big vegetable.

zucchini5

(more…)

Pita Chips and Hummus

It makes me so very happy that I will never be forced to buy pre-packaged hummus or pita chips again!  Freedom from store bought foods!  Ok, so there may be a time when buying a bag of pita chips will be necessary.  BUT, if I have the time to make my own, then I will make my own because the hummus is delicious and easy, as are the pita chips.

Both recipes come from Finecooking.com.  There are quite a few hummus recipes on the site, but this one seemed just different enough to be fun without being weird or overly complicated with ingredients.  I like the versatility of hummus.  A dip for pita chips or fresh veggies, and equally good spread on a flat bread with veggies or some turkey and wrapped up for a quick lunch.

hummus

The garlic in this hummus is cooked in olive oil along with some ground cumin to mellow the flavor of the garlic, and the results are really nice.  The soy sauce in the hummus isn’t obvious, but does add something to the flavor.

For the pita chips, make sure to halve them to create 2 circles, then cut the pita halves into triangles or strips.  If you cut the entire pita into pieces, your chips will not crisp quite as well.  The recipe calls for 10 pitas, but I only used 4.  Just cut what you need, brush them on both sides with a little olive oil, and sprinkle with kosher salt.  Easy peasy.

Hummus

  • 1/3 cup plus 1 Tbs extra-virgin olive oil
  • 4 large cloves garlic, thinly sliced
  • 2 tsp. ground cumin
  • 2 15-1/2-oz. cans chickpeas, drained and rinsed
  • 3 Tbs. tahini
  • 3 Tbs. fresh lemon juice; more to taste
  • 1 Tbs. soy sauce
  • 1/2 tsp. kosher salt; more as needed

(more…)

Summer Vegetable Rolls with Spicy Peanut Sauce

This is time consuming, frustrating, quite prep intensive, and not easy.  The resulting dish is delicious and worth every drop of sweat and shed tear.

Summer rolls are one of those things that seems so daunting that most people, or maybe just me, do not even want to attempt to make them at home.  Why spend so much time preparing something like this?  Why not just be content to order them at a restaurant where someone else labors instead of you?  Because once you know how to do it you will realize that it’s not an impossible task and that they taste better when you’ve made them yourself.  Oh, and it’s quite a bit cheaper than restaurant fare.

summerrolls2

This recipe is from Epicurious.com, and had really high fork ratings and 95% of people would make them again, so I figured I could handle it.  I prepped everything and made the sauce early in the day.  I didn’t really measure my vegetables and herbs.  I chopped and shredded more than I needed and made more noodles than called for.

summerrolls3

This resulted in a lot of leftover veggies, but made more rolls and I had more chances to screw up and tear the rice paper…which, by the way, is very easy to do!  Use a light hand with the wrappers and be prepared to toss some into the trashcan. I like bean sprouts, so I added those to a few of the rolls when I added the carrots.  After adding the carrots, when rolling the roll closed, is when I would tear the rice paper.  Good news though, by the last couple rolls I was putting out some very pretty, tight, nice looking rolls.

Tips for making summer rolls:

(more…)

My Favorite Banana Bread: Part 1

 I have a few favorite banana bread recipes, and they are all very different.

banana2

 This one has a few frills – coconut and toatsed pecans.  This recipe is the medium frills recipe.  One of the others has zero frills, and the third favorite is chock full of goodies.  You have to prepare yourself for that one.

The redeeming thing about banana bread is the banana.  Bananas are very good for you, so feel free to indulge in this bread without guilt.  Check it…

This recipe is from Magnolia Bakery in NYC.  I think I have recommended the cookbook before, so really, go buy it already!

Banana Bread with Coconut and Pecans

banana1

3 cups flour 
1½ teaspoon baking soda 
¾ teaspoon cinnamon 
¾ teaspoon salt 
¾ cup canola oil 
1½ cups sugar 
3 eggs, at room temperature, well beaten 
1½ teaspoon vanilla 
1½ cups mashed ripe bananas (about 4)
¾ sour cream (or low fat)
1½ cups chopped toasted pecans 
¾ cup sweetened shredded coconut

Preheat oven to 350°. 

Grease and flour a 10 inch tube pan or 2 loaf pans. 

Sift together the flour, baking soda, cinnamon and salt. Set aside. 

Beat oil and sugar on medium speed until well-mixed. Add the eggs and vanilla, and beat well. 

Add the bananas and sour cream, and mix well. 

Add the dry ingredients, and mix until just combined. 

Stir in pecans and coconut. 

Pour the batter into the prepared pan(s). 

Bake for 60-70 minutes, or until a cake tester inserted into the center of the bread comes out with moist crumbs attached. 

NOTE: If using loaf pans, bake for 45-55 minutes. 

Let cool for at least one hour before serving.

Best toasted with a spread of butter.  Enjoy!