Brownies and Bars

Rosemary Apricot Bars

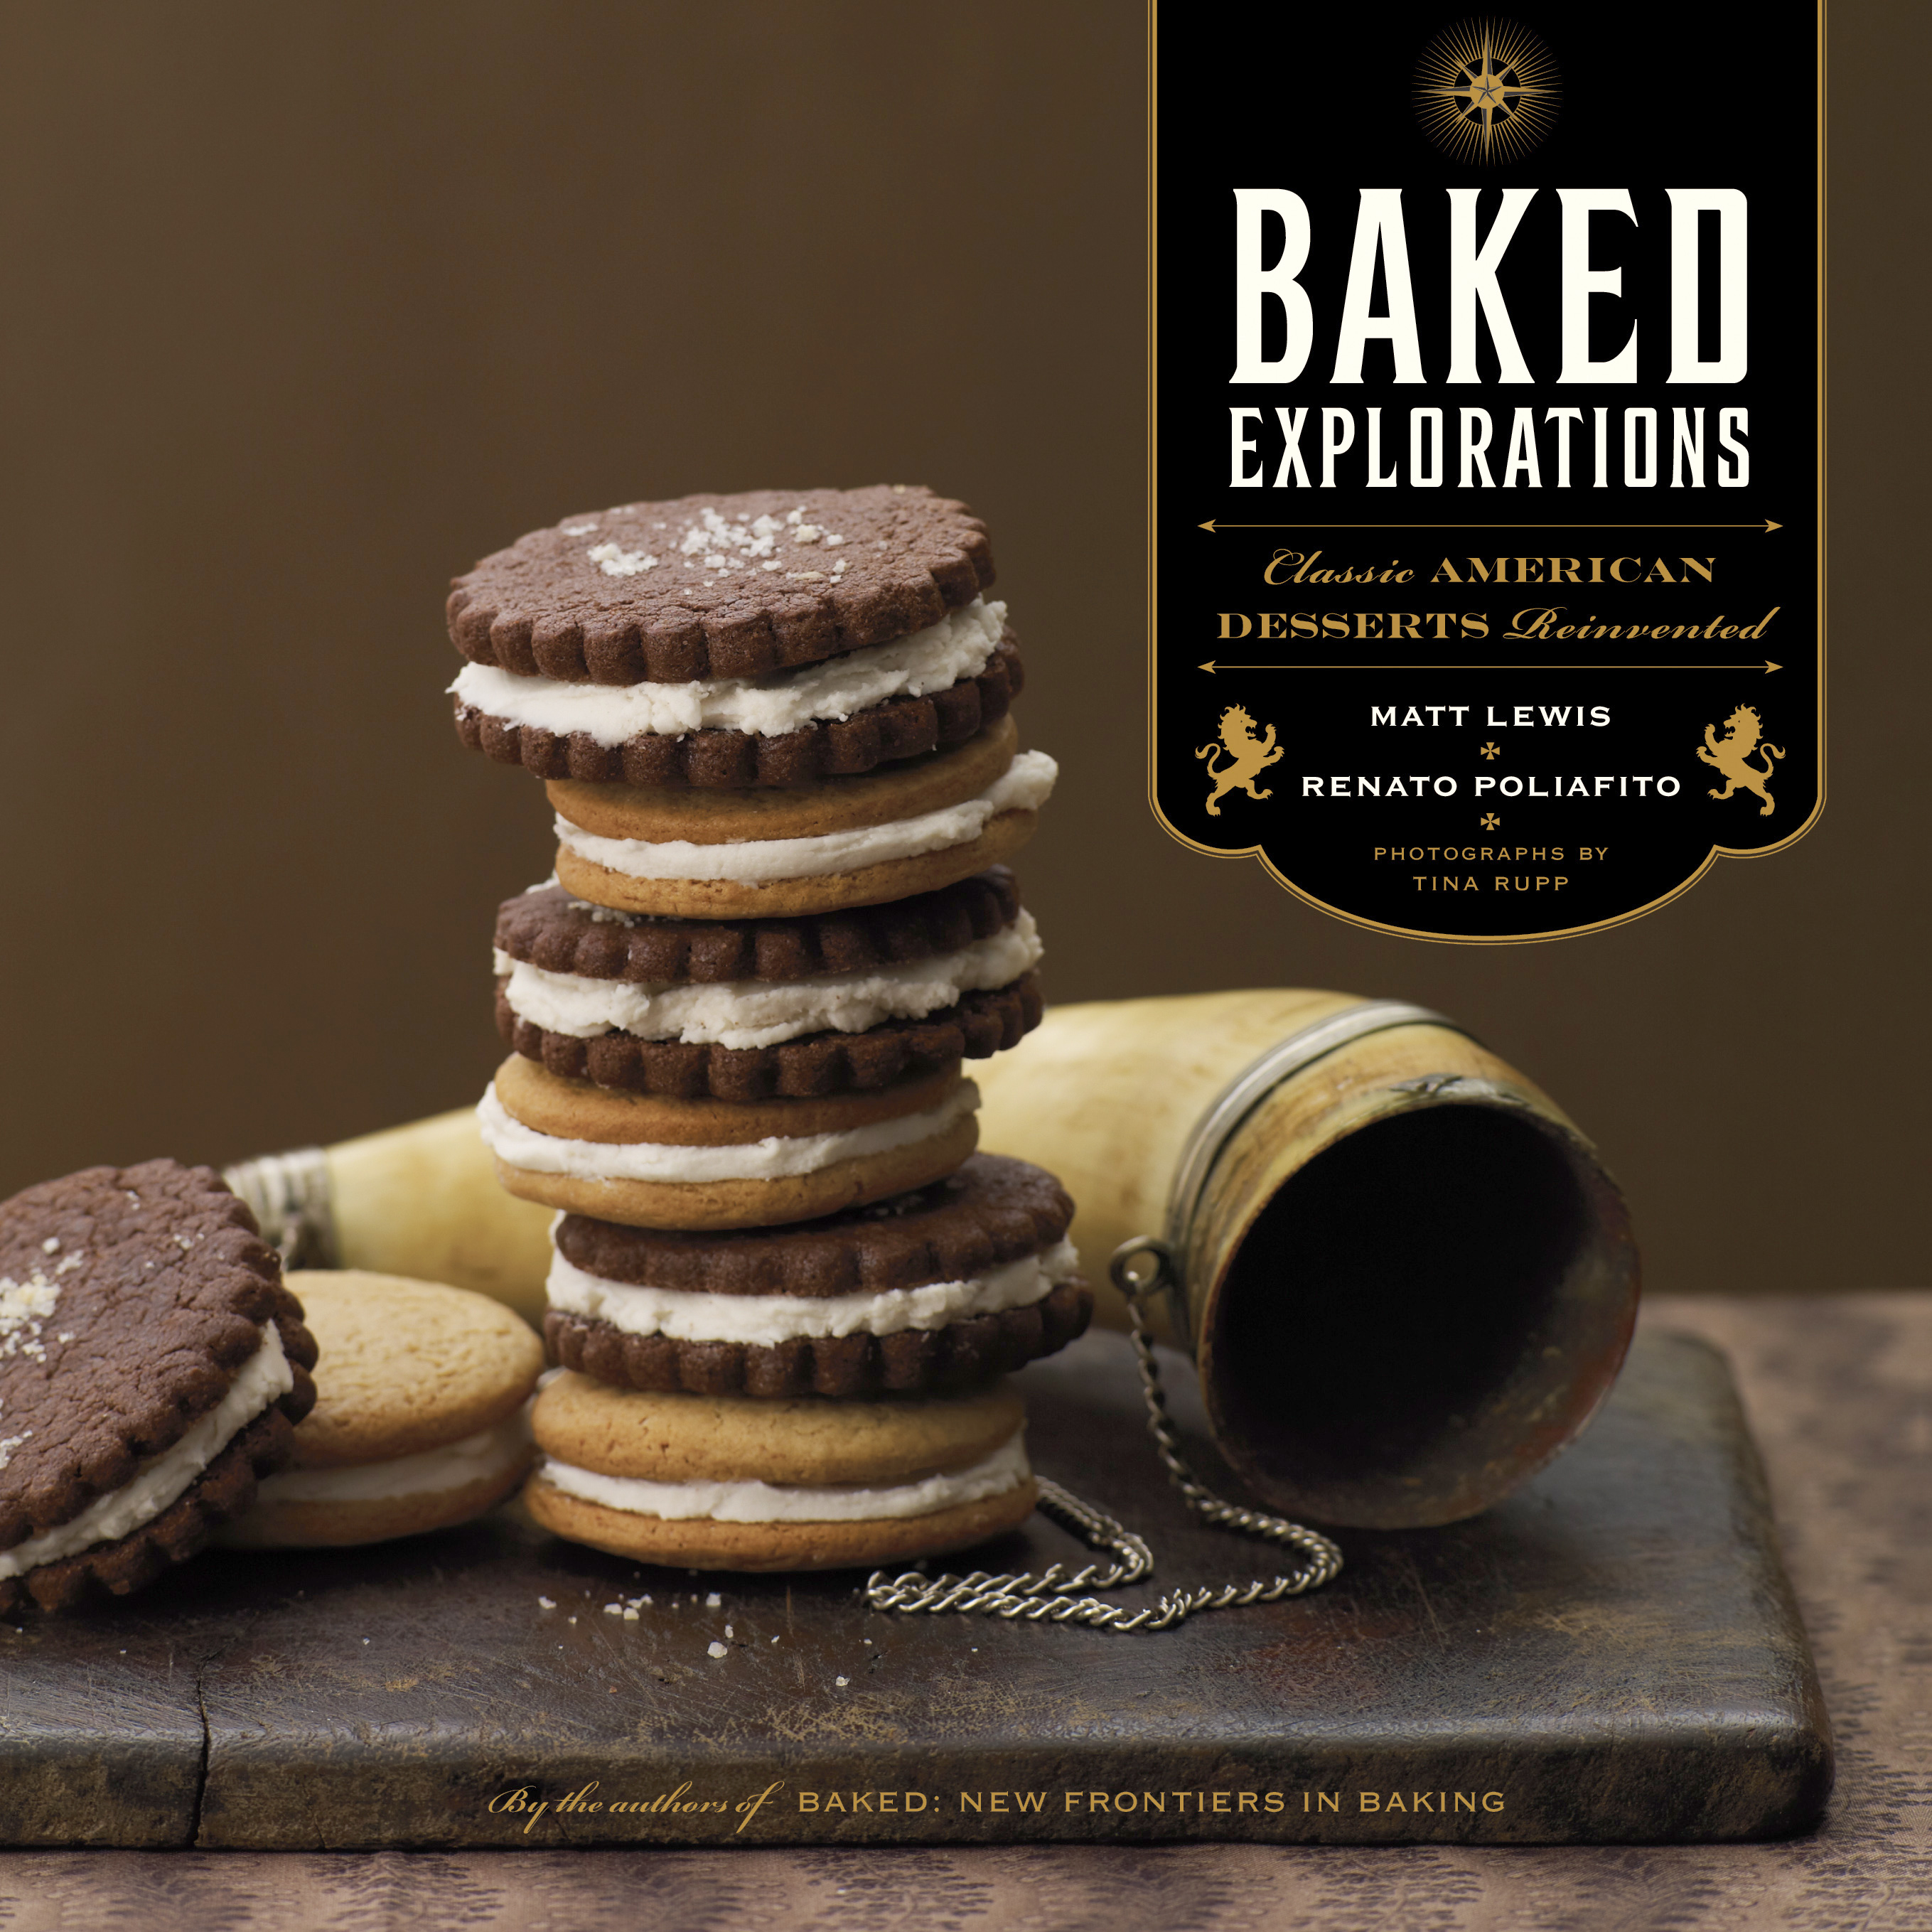
A while back I posted that I wanted this cookbook from Baked.  So, I armed myself with a Barnes and Noble gift card and went out to fulfill my desire.  My plans went awry when they did not have the book in stock.  I bought the second cookbook from Baked instead, Baked Explorations.


The cookbook itself is quite wonderful.  The photos are lovely and unique with a rustic appeal.  Beautiful antique plates, platters and serving dishes display the sweet offerings of this cookbook.  Wood grains, and all shades of brown dominate the color scheme with the occasional pop of color and accents of gold and silver.  The recipes are keeping with the feel of this book, which to me feels like the cooler days of autumn.  I can’t wait for it to be cool enough for me to make the whiskey pear tart!  It’s 102° at the moment…

The first recipe I tried was the Rosemary Apricot Bars.  I had one of these from the bakery when I was in Brooklyn last summer visiting my sister.  It was such a great combination of sweet and savory, crunchy and gooey, and totally delicious.  Mine did not quite measure up to the bakery standards, but they were good.  So good that my husband asked for seconds.  This is a rare occurrence, so I know this is a keeper recipe.

I made some mistakes with these bars.  The recipe calls for a 9 inch square pan.  I used an 8 inch, which made the bottom crust a bit too thick, and the topping a bit too thick, but the filling was just right.  I skimped by 1 tablespoon on the crumb topping because that’s all I had left after the 12 tablespoons in the crust.  As a result, a lot of the topping fell off the top of the bars when I cut them.  Don’t skimp on the butter.  My timing on putting these together was also a bit off, so the apricot filling ended up getting too thick and too reduced after sitting in a warm oven for almost 2 hours.  Why?  Well…

Our house is on the market, as of last week, but we hadn’t had any showings as of Sunday.  So yesterday I struggled with myself a bit.  Do I make these bars and risk a messy kitchen when someone wants to see the house at the last minute, or do I not make them and then regret it because no one came to look at the house anyway?  I made the decision to make them.  Having my house on the market shouldn’t mean sacrificing my freedom to baked goods, right?

I’d made all the parts of the recipe…crust chilling in the fridge, filling cooked and ready to be pureed, crumb topping mixed and in the fridge.  Dirty dishes all over the place.  Carson wakes up from his nap.  I get a call from the realtors office that someone wants to come see the house as soon as I’m ready.  I said 30 minutes and the frenzy begins to get things put away.  15 minutes later there’s a knock at the door.  The dog starts barking, so Carson starts crying, so I’m trying to keep the dog from attacking the realtor as I try to get to the door.  She apologized for being early, I asked for a few minutes to at least put my sweet guard dog in the back yard, I swept Carson up and we headed out to run an errand.  I was a sweaty mess and then realized that I was holding a baby who’s diaper was just about at its breaking point.  I was so tired.

I’d stashed the cooling apricots in the oven, which was warm from the beginning of a preheat, so when I get home the apricots were a seriously sticky and overly reduced mess.  I warmed them up again with a little water and then pureed them.  It worked out ok, given the circumstances.

Despite the craziness surrounding these they turned out well.  I might play around with them in a 9×13 to get a thinner crust.  I’ve learned a valuable lesson about using my kitchen and trying to sell my home.  They do not mix.  I think I will try to bake later in the evening instead of the middle of the afternoon to avoid the chaos I experienced yesterday.

Rosemary Apricot Bars

Courtesy of Baked Explorations

Ingredients

Rosemary Short Dough

  • 1 3/4 cups flour
  • 1/2 teaspoon salt
  • 2 teaspoons fresh rosemary, minced
  • 12 tablespoons butter, room temperature
  • 1/2 cup powdered sugar
  • 3/4 teaspoon vanilla extract
Apricot Filling
  • 2 cups dried apricots
  • 1/2 cup sugar
  • 3 tablespoons honey
  • 2 tablespoons brandy
  • pinch of salt
Crumb Topping
  • 1/2 cup flour
  • 1/2 cup brown sugar
  • 1/3 cup pecans, chopped
  • pinch of salt
  • 3 tablespoons cold butter, cut into cubes
Directions
Rosemary Short Dough
  1. Grease a 9-inch square baking pan and line with parchment, overhanging on 2 sides.
  2. In a medium bowl whisk flour, salt and rosemary.
  3. In the bowl of a stand mixer beat butter, sugar and vanilla on medium speed until fluffy.
  4. Stream in the flour and mix on low speed until flour is incorporated, then turn the dough into the pan and press into an even layer.  Refrigerate at least 30 minutes.
  5. Bake at 350°F for 25-30 minutes.  Let cool on wire rack.
Apricot Filling (Make while dough is chilling)
  1. Place the apricots, sugar, honey, brandy and salt in a medium saucepan with 1 1/2 cups water and simmer over low heat for 45 minutes, or until apricots are tender and most of the liquid has evaporated and thickened.
  2. Let cool slightly, then puree in a food processor until smooth.
  3. Spread over crust while it is still warm.
Crumb Topping
  1. Combine sugar, flour salt and pecans in a bowl.
  2. Cut in butter with a pastry blender or two knives until butter is incorporated and you have a sand-like texture.  (You can store this in the fridge until ready to use.)
  3. Sprinkle crumb mixture on top of the apricot layer and bake at 350°F fr 20-25 minutes.
Let bars cool out of the oven for 30 minutes, then remove using the parchment and cut into bars.

Chocolate Snack Cake with Coconut Pecan Icing

This recipe came from a real cookbook.  One with pages and everything.  America’s Best Lost Recipes.

My sister worked at Half Price Books a couple years ago and got her hands on this neat cookbook from the Cook’s Country editors.  It contains recipes that have been around for a while that have been shared by home cooks.  Stories accompany each recipe telling who they came from, and how and where they originated.  The goal of this cookbook is to bring back recipes that are worth remembering.

This simple chocolate sheet cake is called “Scotch Cake” in the cookbook.  The note about this recipe says:

“The origin of the name of this simple sheet cake, with its unique pecan and coconut topping, was a mystery to Melinda and her mother, whose recipe card for it included a note that said: “I don’t understand the name of this cake.  I just call it my “boil it” cake”.”

I brought this cake to a potluck dinner, and it received a few compliments.  It’s a great potluck dessert because you can make it a day in advance and keep it in the fridge, it’s simple to prepare, you can take it in the pan and it cuts really nicely.  After being refrigerated the cake becomes almost fudgy and the coconut pecan icing gets that nice sugary crunch.  You know what I’m talking about.

Chocolate Snack Cake with Coconut Pecan Icing

From America’s Best Lost Recipes

Ingredients

Cake

  • 2 cups flour
  • 2 cups sugar
  • 2 sticks of butter
  • 1 cup water
  • 4 teaspoons cocoa powder
  • 1/2 cup buttermilk
  • 3 eggs
  • 1 teaspoon baking soda
  • 1 teaspoon vanilla
  • 1/4 teaspoon salt
Icing
  • 1 stick butter
  • 6 tablespoons whole milk
  • 4 teaspoons cocoa powder
  • 4 cups powdered sugar
  • 1 teaspoon vanilla
  • 1 cup sweetened, shredded coconut
  • 1 cup chopped pecans
Directions
For the Cake
  1. Preheat oven to 350 F. Grease and flour a 9×13 pan.
  2. Whisk flour and sugar in a large bowl.
  3. Heat butter, water and cocoa in a saucepan over medium heat until it comes to a boil.  Pour over the four mixture and stir to combine.
  4. Stir in the buttermilk, eggs, baking soda, vanilla and salt until combined.
  5. Pour into prepared pan and bake for 35-40 minutes until toothpick inserted into the center comes out clean.
For the Icing
  1. Heat the butter, milk and cocoa in the same saucepan over medium heat until the butter melts.
  2. Take it off the heat and stir in the powdered sugar, vanilla, coconut and pecans.
  3. Spread over the warm cake and let cool completely.
  4. Serve or refrigerate for up to 3 days.  Bring the cake to room temperature before serving.


Mixed Berry Bars

Recently I made these blackberry pie bars again.  The recipe is from Rebecca Rather’s cookbook The Pastry Queen.  Buy it.  This time around I found the bottom crust to be a little on the thick side, and there was an awful lot of filling.  These bars are so substantial that they are best eaten from a plate with a fork.  These are one of the best things you will ever put in your mouth.  Ever.  They are just really decadent and I thought it would be nice to have the same flavors, but in a bar that was a little easier to eat.

So, with some extra berries I decided to make the bars again with a thinner crust, and less filling.  Since I only had a small bag of frozen blackberries I used a combination of blackberries, blueberries and strawberries.  A total of 4 cups of any berries would do.  As with the Pastry Queen’s recipe, thaw and drain any frozen berries that you’re using.

I found these bars to be much easier to just pick up and eat.  There are tons of things you could do with these.  Use different combinations of berries, maybe use peaches, add some ground pecans, almonds or walnuts to the crust and/or crumb topping or even play with spices…cinnamon, nutmeg, cardomom.  Oh, the sweet and delicious possibilities!  I might try a small batch in an 8×8 pan so that I can try more of these variations without having too many extra goodies around the house.

I find these to be extra special served with a small (or maybe a rather large) scoop of Bluebell Homemade Vanilla ice cream.  Enjoy!

Mixed Berry Bars

Adapted from Rebecca Rather’s Blackberry Pie Bars

Ingredients

Crust and Topping

  • 1 1/2 cups flour
  • 1 1/2 sticks (3/4 cup) cold butter, cup into cubes
  • 3/4 cup sugar
  • 1/4 teaspoon salt

Filling

  • 2 eggs
  • 1 cup sugar
  • 1/2 cup sour cream, regular or light
  • 1 teaspoon vanilla
  • 1/2 cup flour
  • 4 cups berries (any combination you like, make sure to thaw and drain any frozen berries)

Directions

For the crust and topping:

  1. Preheat the oven to 350F. Grease a 9×13-inch baking pan.
  2. Combine the flour,sugar and salt in a food processor fitted with the metal blade. Process until fully combined. Add the butter to the flour mixture and process until the butter is evenly distributed,but the mixture is still crumbly.
  3. Reserve 1 cup of the crumb mixture for the topping. Press the remaining crumbs into the bottom of the prepared pan. Bake the crust for 12-15 minutes,or until it is golden brown. Cool for at least 10 minutes.

Filling:

  1. Whisk the eggs and sugar together in a large bowl,
  2. Add the sour cream, flour and salt. Gently fold in the berries.
  3. Spoon the mixture evenly over the crust. Sprinkle the reserved crumbs evenly over the top.
  4. Bake 50 minutes to 1 hour,or until the crust is lightly browned. Cool for at least 1 hour before cutting.


Hello Dolly Bars

You might call them magic cookie bars, or maybe seven layer bars. Whatever you call them they are quite good.

These bars require no mixing.  Just a little crushing of graham crackers, melting of butter and then layering of ingredients.  A mere 25 minutes in the oven and they’re done.  This is a great last minute dessert.  If you don’t have pecans, then you can use walnuts.  You could probably even use peanuts, honey roasted might just be amazing.  Yum.  If you don’t have chocolate chips you could use white chocolate chips, butterscotch chips or a combination.  You can also use margarine if you don’t have butter.  But who doesn’t have pounds of butter in their fridge at all times?  Crazy people.  That’s who.  Enjoy!

Hello Dolly Bars

Ingredients

  • 1 stick butter, melted
  • 1 1/2 cups crushed graham crackers
  • 1 cup chopped pecans
  • 1 cup chocolate chips
  • 1 1/3 cup shredded coconut
  • 1 14 oz can sweetened condensed milk

Directions

  1. Pour melted butter in bottom of a 9×13 pan.
  2. Sprinkle graham cracker crumbs over butter followed by pecans, chocolate chips and coconut.
  3. Drizzle condensed milk evenly over everything.
  4. Bake for 25 minutes @ 350°F.

Frosted Cocoa Brownies

Oh my.  These are decadent.  I wish I hadn’t made a full recipe because now they’re calling to me from the kitchen, “Carrie, it’s just one more little piece of goodness.  No one will even notice that you ate me…except your jeans!  Mwahaha!”  I hate you evil brownies.

Desserts with which you have a love-hate relationship are usually the best ones.  This brownie recipe will be one that I will make again.  Simple ingredients.  Easy preparation.  Sinfully good.  And while I ate more than one for dessert, a normal person with a healthy relationship with sweets really only needs one to be satisfied.

I found this recipe on Tasty Kitchen, the recipe sharing site from the Pioneer Woman.  Here is the link to the site.  I’ve enjoyed searching through all the recipes, but have yet to submit any of my own.  There are already so many recipes with a pretty great variety that I don’t know if I will.  One of the things I like about sites like these is that real people made the recipes and so they are usually pretty easy and tasty.  Thank you, Tasty Kitchen!

On the site these brownies are called “Are We in Heaven?  No…It’s Just the Brownies.” which is what made me take a second look at this recipe.  I thought it was funny.  Would I say that these brownies are like being in heaven?  No.  Nothing on this earth is going to be that good.  But they are incredibly good.

The brownie is fudgy.  The frosting is pretty sweet, so a thin layer is all you need. (more…)

Coconut & Almond Lemon Curd Bars

Since I am kind of a hermit these days as a new mommy, I have been raiding my pantry in search of things I can cook or bake with instead of going to the grocery store.  I found a jar of lemon curd in there and so I made these bars.

My mom makes the BEST lemon bars, but these were pretty good and different enough not to be a competitor.  My mom’s are super simple with a buttery crust topped with a tart lemon filling and dusted with powdered sugar.  In contrast, these bars have a crumbly almond and coconut topping that makes them a little special.

I found the recipe on allrecipes.com.  Here is the link.  The recipe calls for a jar of lemon curd, but I think you could easily use any lemon bar filling as a substitute.  This basic filling would be a good one.

Lemon Curd Bars

Ingredients

  • 1 cup unsalted butter
  • 2 cups all-purpose flour
  • 1 cup white sugar
  • 1/2 teaspoon baking soda
  • 1 (10 ounce) jar lemon curd
  • 2/3 cup flaked coconut
  • 1/2 cup toasted and chopped almonds

Directions

  1. Preheat oven to 375 degrees F.
  2. In a large mixing bowl cream the butter. Add the flour, sugar and baking soda. Mix until the mixture forms coarse crumbs
  3. Pat 2/3 of the mixture into the bottom of one 9×13 inch baking pan. Bake at 375 degrees F for 10 minutes. Remove and let cool slightly.
  4. Spread the lemon curd over the baked layer. To the remaining 1/3 of crumb mixture add the coconut and the almonds. Sprinkle over the top of the lemon curd.
  5. Lower oven temperature to 350 degrees F.  Bake bars for 25 minutes or until lightly browned.

Peanut Butter Chocolate Bars

Oh.  My.  Good.  Gracious.  These things are crazy good.  And they came about all because of one lonely jar of chunky natural peanut butter that had been stashed in the back of my pantry for a while.  He was reaching the end of his shelf life on November 8, 2010.  I bet this jar of peanutty goodness never even dreamed of being used in something so wonderful.  He thought maybe he was destined to be the star player in a few PB & J’s or maybe to be spread on some celery.  I had much bigger plans for him.

In order to use my natural peanut butter I just searched “desserts with natural peanut butter” in Google and after searching through a few cookie recipes I found this recipe on Joy the Baker.  Here is the link to the recipe.  I made minimal changes to the original.  Chunky instead of smooth peanut butter, regular brown sugar instead of dark, and semi-sweet chocolate chips instead of milk chocolate.

These taste like a dressed up Reese’s cup.  The peanut butter layer comes together easily in one pot.  The chocolate frosting is also incredibly simple to make and spreads nicely on the cooled bars.  This is an altogether simple and delicious bar that I will definitely be adding to my go-to recipe collection.  After frosting the bars I chilled them in the fridge which makes the quite easy to cut.  We ate them cold from the fridge and they were delicious, but letting them warm up a bit makes for a wonderful melt-in-your-mouth experience.  Enjoy! (more…)

Pumpkin Caramel Oat Bars

I was tempted to not even post this recipe since these bars did not photograph very well.  But Ben brought some of the more attractive specimens up to work, and apparently they were devoured within an hour.  Some people at work asked for the recipe, and Ben assured them I would be posting on the blog.  So, despite the not so great photo, here they are.  These are tasty.  Pretty messy, and a little difficult to eat and cut, but oh so tasty.

This recipe is from the McCormick website, and I did use mostly McCormick spices.  Here is the link.  My vanilla was from Belize (thanks, Kate!) and my cinnamon was….not really sure where this container of ground cinnamon came from now that I think about it.  Anyway, all the spices make this a dessert that makes your entire house smell delicious.  I might have said this before, but I love fall baking.  Instead of using caramels that require a lot of tedious unwrapping I used those caramel pieces that come with the wooden sticks for making caramel apples.  Something I just do not get.  Caramel apples.  Who really eats those things?  It seems like too much work.

My bars did not cut out very neatly.  I might have needed to bake them a little longer.  I also think it would help to press the crumb topping into the caramel layer so that the crumbs don’t fall off the bars when they’re cut.  Regardless of looks though, these are quite good.  Enjoy! (more…)

Raspberry White Chocolate Almond Bars

My friend Jackie made these for my baby shower this past weekend.  She has made them before, so I knew what I was in for.  These bars are pretty incredible.  Everyone loved them, and a lot of people asked for the recipe.  The recipe is from a Nestle cookbook that Jackie owns.  I found it online here.

The ingredient list is short and sweet.  I haven’t personally made them but I think the directions are not too difficult, just a bit tedious.  I think there are some ways around some of the silly instructions, but I need to try this myself first to see.  The only problem Jackie has had is the bars sticking in the pan, even with a generous greasing and sugaring.  When I get around to making these, I’ll let you know if I discover a magical trick for that.

Make these, and make them tonight if possible.  I must warn you that if you are in the house by yourself with a pan of these you could make the mistake of eating the entire pan.  So either exercise some self control or make them and give most of them away.  Or you could do like I did, and just eat way too many of them.  These are delicious.  Thanks, Jackie!

Raspberry White Chocolate Almond Bars

AKA Razz-Ma-Tazz Bars from Nestle

Ingredients

  • 1/2 cup (1 stick) butter or margarine
  • 2 cups white chocolate chips, divided
  • 2 eggs
  • 1/2 cup granulated sugar
  • 1 cup all-purpose flour
  • 1/2 teaspoon salt
  • 1/2 teaspoon almond extract
  • 1/2 cup seedless raspberry jam
  • 1/4 cup toasted sliced almonds

Directions

  1. Preheat oven to 325°F. Grease and sugar 9-inch square baking pan.
  2. Melt butter in medium, microwave-safe bowl on HIGH (100%) power for 1 minute; stir. Add 1 cup morsels; let stand. Do not stir.
  3. Beat eggs in large mixer bowl until foamy. Add sugar; beat until light lemon colored, about 5 minutes. Stir in morsel-butter mixture. Add flour, salt and almond extract; mix at low speed until combined. Spread 2/3 of batter into prepared pan.
  4. Bake for 15 to 17 minutes or until light golden brown around edges. Remove from oven to wire rack.
  5. Heat jam in small, microwave-safe bowl on HIGH (100%) power for 30 seconds; stir. Spread jam over warm crust. Stir remaining morsels into remaining batter. Drop spoonfuls of batter over jam. Sprinkle with almonds.
  6. Bake for 25 to 30 minutes or until edges are browned. Cool completely in pan on wire rack. Cut into bars.

Double Chocolate Marshmallow Chex Bars

Today I cleaned out my pantry and the cabinet that houses all of the medicine, vitamins, paper goods, cookie cutters, cake decorating gadgets, and some other random junk I own. It felt so good to throw some things away and get everything organized.

The most impressive things I tossed were a box of generic NyQuil from HEB that expired in 2007 and a pretty large container of Gatorade mix that also was “Best By” June of 2007. Why did we still have these things? We moved to Amarillo in 2008. Why did I not throw them both away when we moved?

Anyway, our pantry is not exactly spacious. A few items that I don’t use often had been tossed on top of a bunch of other things on the very top shelf. Out of sight, out of mind.  After cleaning everything out I couldn’t find another place for these items, and I couldn’t bear to put them back where they had been after I’d cleaned everything up. So, I made these cereal bars.

I used the rest of a box of Chex I’d needed to make Chex mix a while back and a bag of mini marshmallows. It was nice to get rid of those items, but I still have a few other items that I’ve got to use up to have a truly tidy pantry. Stay tuned for what’s coming next! I have some very interesting ideas.

Once I had mixed up these bars and pressed them into the pan I had some doubts about how they would taste.  I let them cool in the fridge for about an hour, then I sliced a small corner for myself.  Then I sliced a large hunk of this stuff for myself!  The Chex mix gives a different texture than Rice Krispies would, and the combination of white, milk chocolate and marshmallow is pretty addictive.  You could use any cereal, any combination or any flavor of baking chips and probably add any other tasty bits your heart desires and come up with something quite yummy.  So, run wild and go create goodness with cereal!

(more…)